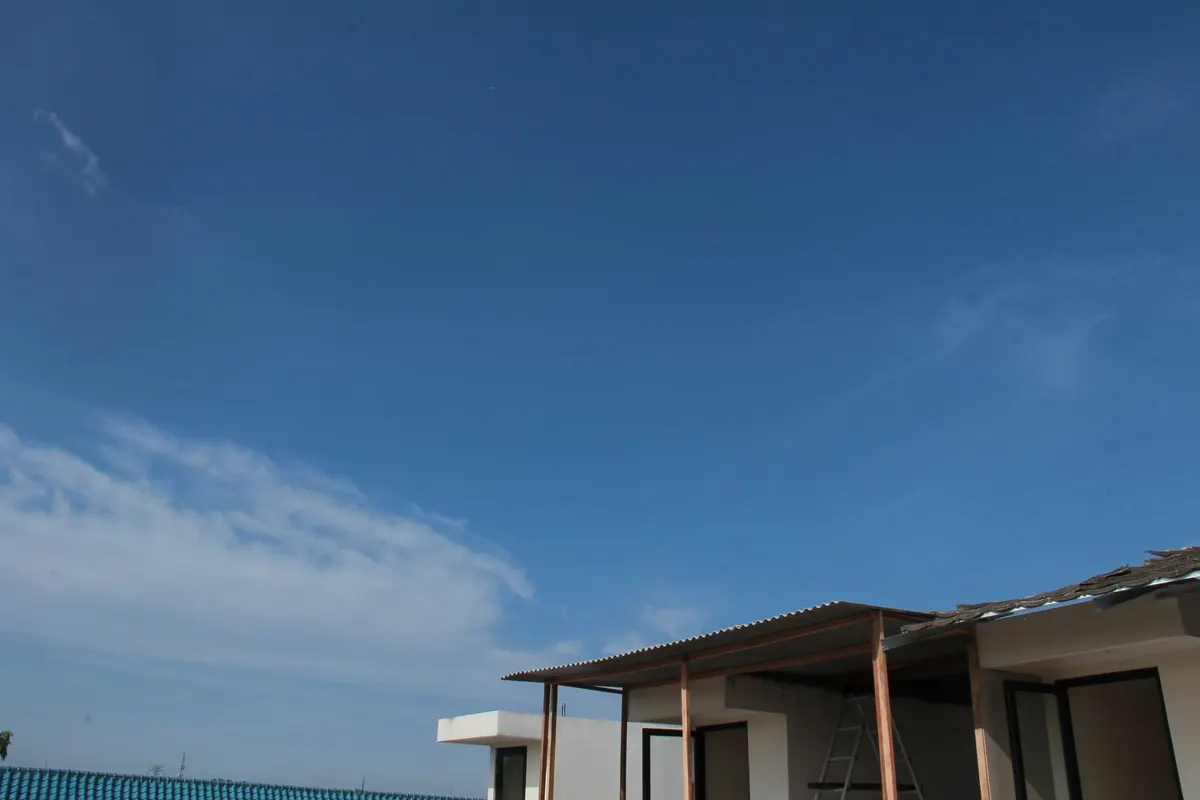
Roof pitch is one of those numbers most people only think about when something goes wrong: a leak working its way in at an abutment, tiles lifting in a gale, or a loft conversion that turns out to have less headroom than the drawings promised. Whether you are re-roofing a Victorian terrace, pricing a garden room, or checking whether a contractor's plan adds up, working out pitch from rise and run is a genuinely useful skill. It needs a spirit level, a tape measure and a calculator with a tangent button.
Pitch is the angle of a roof slope measured from the horizontal, and it is normally expressed in one of three ways: degrees, a ratio of rise to run, or occasionally a percentage. On site, ratios tend to win because they are easy to set out with a framing square.
Run is the horizontal distance a slope travels. On a symmetrical gable roof, that is half the span, measured from the outer face of the wall plate to the centre line of the ridge. Span is the full width between the two wall plates. Rise is the vertical height gained over that run, from the top of the wall plate to the apex.
A gable roof is usually symmetrical, so both slopes share the same pitch: measure one and you have measured both. If the two sides differ, you are looking at either a poorly built roof or a deliberate asymmetric design, and each slope needs measuring separately.
The most reliable place to measure is inside the loft, where you can work from the rafters rather than hanging off a ladder. An angle finder laid across the slates will read a degree or two shallow because it is sitting on the tile or slate thickness rather than the structural plane, and a small error at this stage becomes a large one when you start cutting timbers.
Measuring from outside works too. Fix a level against the gable wall, mark a point level with the top of the wall plate, then measure horizontally to the ridge line and vertically from your mark up to it. It is quicker, but you are measuring the building rather than the roof structure, so expect a little more margin for error.
The formula is straightforward: pitch angle = tan⁻¹ (rise ÷ run). Divide the rise by the run, then press the inverse tangent button on your calculator.
Say your rise is 2.4 m over a run of 4 m. That gives 2.4 ÷ 4 = 0.6, and tan⁻¹(0.6) is roughly 31°. A steeper example: a rise of 3.5 m over the same 4 m run gives 0.875, which is about 41°. For a 45° roof the rise and run are equal, which is why that pitch is so easy to set out and so common on older outbuildings.
A ratio of 0.6 is the same as 6:10, or 3:5 once you simplify it, and about 60 per cent. Converted into the "x in 12" convention used by some designers, 0.6 × 12 gives 7.2 in 12. Rough equivalents worth remembering:
If you are setting out new timbers rather than checking existing ones, work from the pitch angle and calculate the rise for your known run, then add the rafter length along the slope. That calculation belongs on paper before anything is cut.
British weather is not extreme, but it is persistent, and it is the combination of wind-driven rain, exposure and the covering itself that decides what will work. A few things to weigh up:
Measure to the underside of the rafter, not the top of the tiles. Remember that the ridge board or ridge beam adds height above the rafter line, so a roofline that looks steep from the street may be shallower than you assume. Check both slopes on an older roof, because sagging and settlement are common. And if you are changing the covering on an existing roof, compare the new product's minimum pitch with what you actually have before ordering — a shallow roof that has coped with slate for a century may not cope with a different tile.
Measure twice, convert once, and write the figure down. Aim for a pitch comfortably above the covering's minimum rather than exactly on it, and leave yourself a margin for the fact that most roofs are a little out of true somewhere. Anything structural — removing a prop, altering a ridge, adding a dormer or increasing loads on an existing roof — needs a structural engineer's input rather than a rule of thumb. Roof work is also unforgiving work, so if you are not set up to do it safely at height, the sensible move is to measure from the loft and let someone else do the climbing.
Photo: Arif Syuhada / Pexels
Gable and dormer loft conversions add space in different ways — here's how they compare on headroom, cost, planning...

Yorkshire's stone gables, copings and kneelers do more than keep the rain out — they shape how a house reads from...

A month-by-month plan for clearing gutters, checking flashings and weatherproofing gables, so your roof is ready...

Exploring gables, roofs and architectural design..
